Linen Pillow Covers with Tie Closures
Learn how to sew a custom pillow cover with a tie closure in this simple, easy, quick tutorial with pictures. This is a very basic sewing project that only requires knowing how to do a single straight stitch.

DIY Linen Pillow Cover
I sort of laugh inside about sharing this tutorial with you because sewing is not my strongest talent. When it comes to a sewing machine, I know just enough to create a few simple basic items for our home.
I know several very talented individuals who can create just about anything with a sewing machine, so if you are one of those wildly talented individuals, you may laugh at my feeble attempt to share this idea. I am a very simple kind of homemaker and I love a great diy project that costs little money, yet adds beauty to our home.
Linen fabric is one of my favorite things. I love it’s natural, organic feel and I often purchase linen pieces from local thrift stores. 100% linen tablecloths are perfect for re-purposing and that is what I used to create these pillow covers with tie closures.

How to Make a Linen Pillow Cover
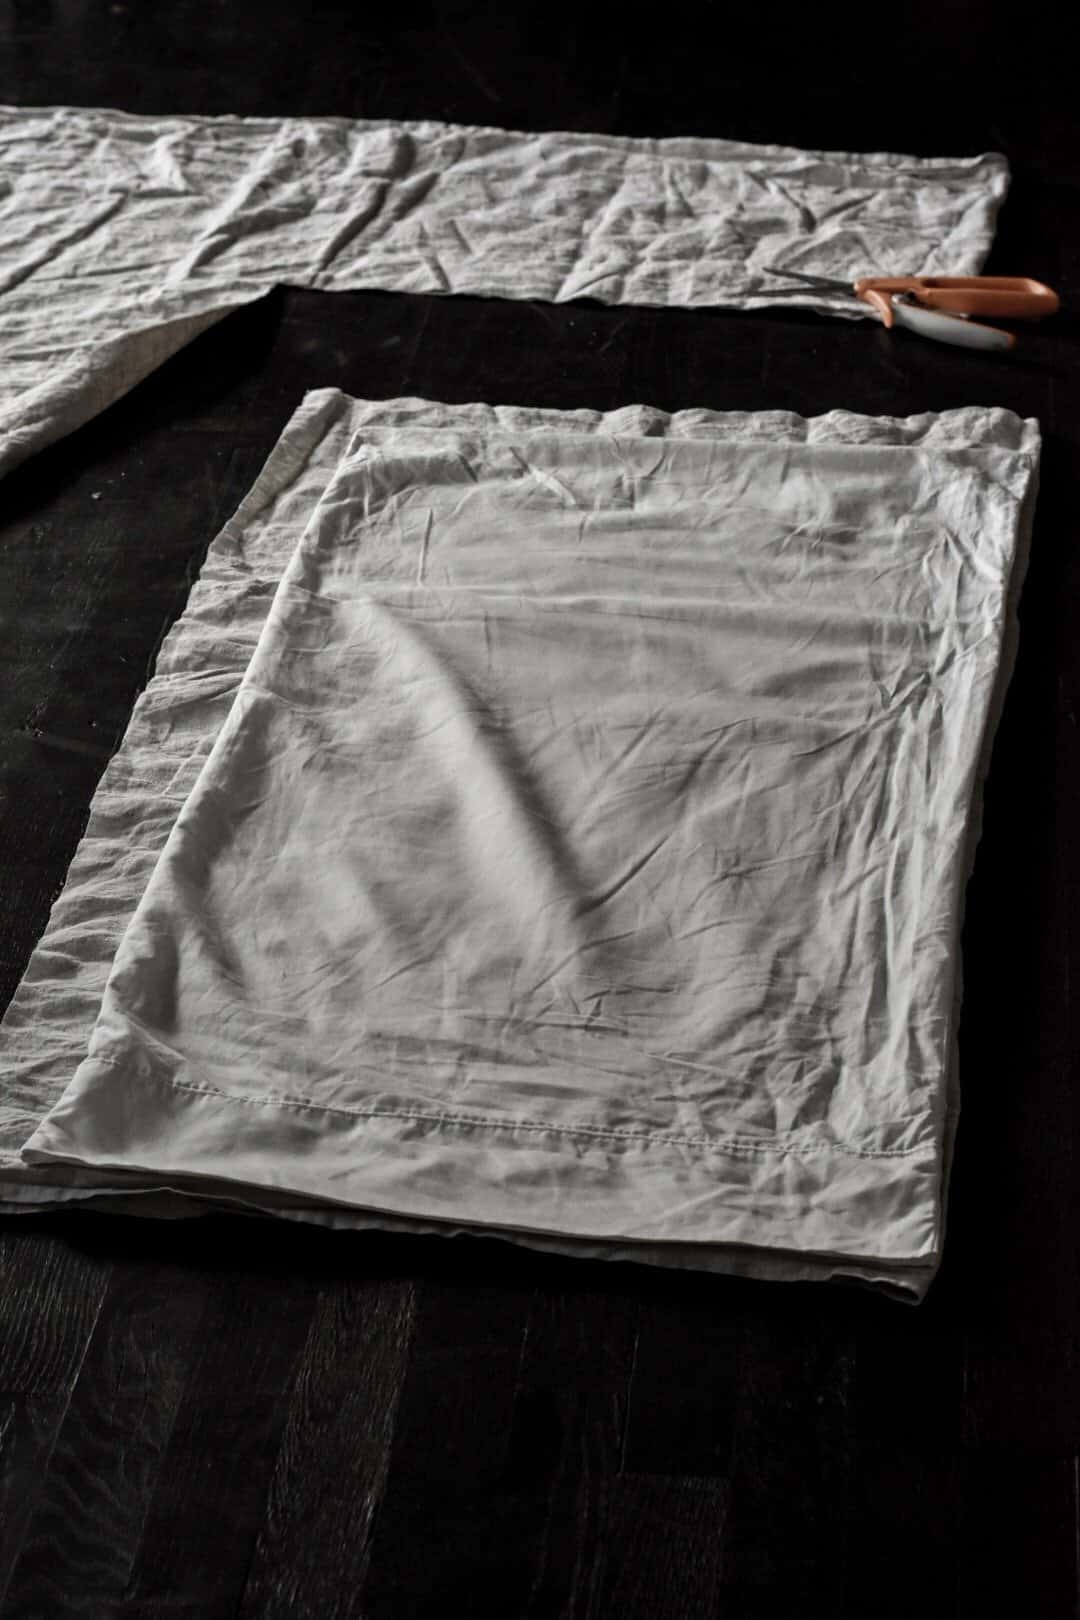
I began by folding my tablecloth in half, with right sides together. Then, I took a king size pillow cover and laid it out on top of the fabric, to use as a guide for the size that I needed. I added a few inches around the edges to allow for my seams and cut out my basic size.

The linen tablecloth already has finished edges, so I chose to use that as the opening for my pillow cover. The tablecloth was large enough to make two king size pillow covers. So, I cut out four pieces of fabric that were all the same size.
Leaving the right sides together, as shown in the photo above, head to the sewing machine. You will do a basic straight stitch down the sides of the pillow cover and along the bottom. Then turn it right side out, and if you so choose, iron your pillow cover. When it comes to linen, I love the wrinkled look and chose not to iron mine.
That’s it! Easy, right? I told you it would be. With the tablecloth fabric already having the edge finished, it saves you a step. Now, if you are using fabric that doesn’t have a finished edge, you will need to hem the edge of your pillow cover.

Now, it’s time to make sure that the pillow cover fit, and mine did! I think I surprised myself and I was quite happy about the result. Then, I thought about how pretty they would be with a tie closure. So,I went back to the leftover fabric from the tablecloth and I cut off the finished edge that was remaining.

How to Add a Tie Closure to a Pillow Cover
When I am working on a project for our home, it is normal for me to make things up as I go along. So, that is how I ended up with the tie closures for these pillow covers.
I am a visual person and chose to leave my pillow cover on the pillow so that I could see exactly how it would look.
After I cut the finished edge off of the remaining fabric, I pinned it onto the pillow cover opening. I made sure that they were the same lengths and that I had them in the exact spot I wanted them. If you look in the above photo you can tell it is one solid piece for a tie closure. Once I had everything in place, I cut them in half, which would be where the tie closure hangs on the side of the bed in the above photo.
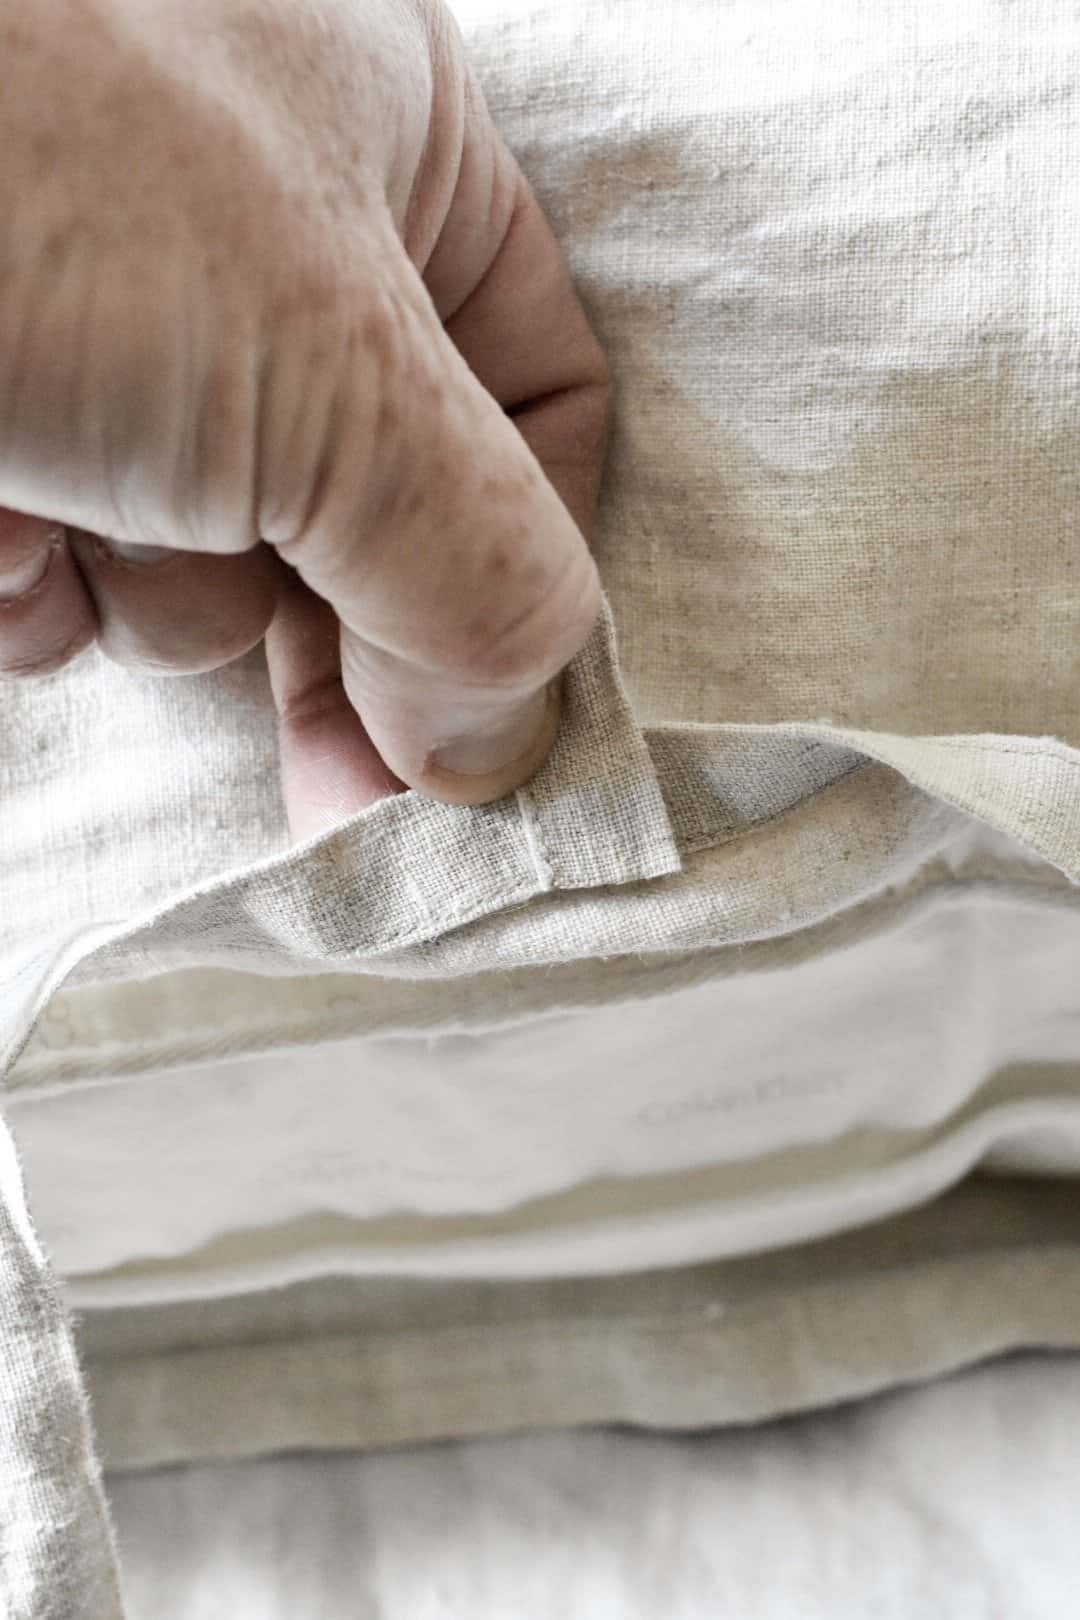
Using the edging of the tablecloth helps keep this pillow cover simple because you don’t have to iron and sew the ties. It’s already done for you, so when you are cutting the edging off of the tablecloth be sure to not cut into the stitching. You just want to cut at the very edge where the edging meets the fabric.

In the photo above you can see how I lined the tie closure up on the edge of the pillow cover. I then folded it under and went back to the machine to sew around the entire top section of the pillow cover.

Easy, Simple Linen Pillow Cover
Once I finished turning the edge under with the tie closure and sewed all the way around the top of the pillow cover, I was finished. And, I was very happy with the end result of a project that took less than 30 minutes to complete.
I wasn’t going to share this tutorial here because as I said earlier, I know that there are some very talented individuals who could have shared a much more in depth tutorial, but I feel it is important to show that you can create a beautiful home on a budget, in a simple way.
Maybe you are like me, and lack the proper sewing skills but we all have to start somewhere, right? A little thought, a will to create and a desire to have a beautiful home is all it takes to get started! I hope that more than anything you have found some inspiration to possibly try something new.
If you have any questions please let me know I and will try my best to answer them.
If you love this project, please take a quick moment to share or pin to Pinterest.


Sarah, thank you for sharing this tutorial. One day I hope to have linen sheets, but until then it’s cotton and maybe a couple of these linen pillow cases with ties. : )
You speak my language, Sarah. Linen is my ultimate favorite textile to sew with. Those pillows are gorgeous. ?
Thank you for posting this tutorial, Sarah! I have a brand new (3 year old) sewing machine that is still in the box because I have no idea how to use it and I don’t know how to sew! And, I have lots of tablecloths, too!
I LOVE this tutorial and cannot wait to try it! Can you tell me how long the ties were that you cut and sewed on the pillow covers?