Overnight Sourdough Herb Pizza Crust
Learn how to make this overnight sourdough herb pizza crust recipe. This homemade sourdough starter pizza dough crust is baked to perfection in a cast iron skillet. It’s soft, chewy and so good!
Like other overnight sourdough recipes, this pizza dough is fermented, making it more easily digested. Sourdough breads are more nutritious than regular breads. The lactic acid bacteria found in sourdough bread helps degrade phytates, which increases mineral absorption. This is one of the ways in which sourdough bread is more nutritious than conventional bread. (Source)
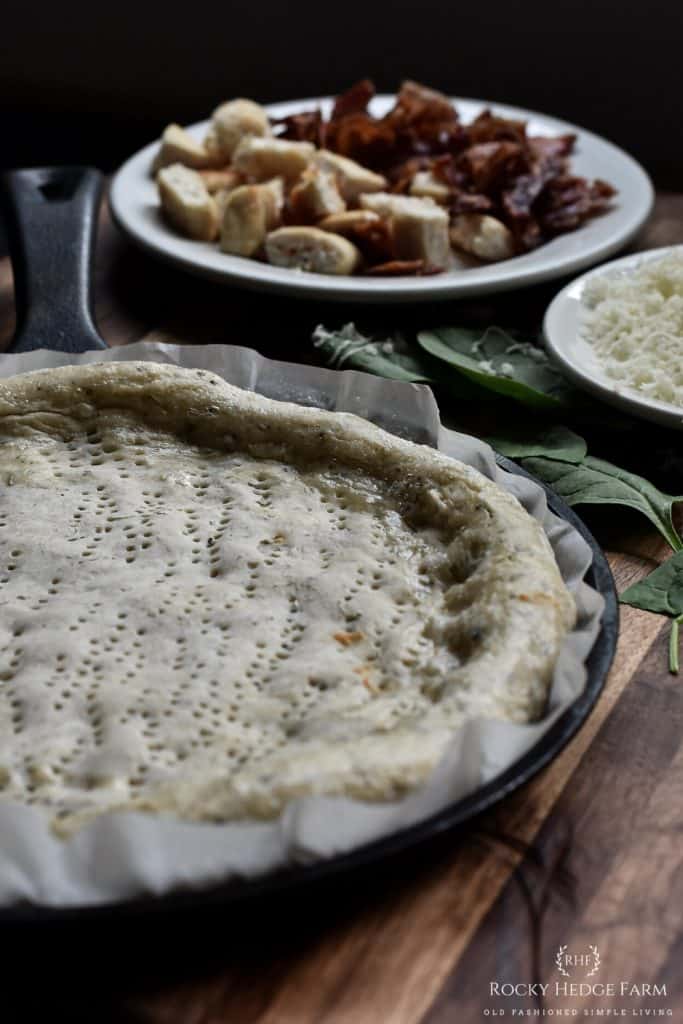
Sourdough Starter Herb Pizza Dough
Friday night is pizza night in our home. It has been for a long time and quite honestly, it is our favorite night of the week. I used to make homemade pizza crust, then started purchasing store bought pizza. Now, that I have a sourdough starter sitting on the shelf, I make overnight sourdough herb pizza crust.
All of my recipes have to pass the taste test of six people. Those six include my husband, myself and our four children. Like my sweet honey sourdough dinner rolls, this pizza crust got rave reviews.
Overnight Sourdough Herb Pizza Crust – Example Schedule
Making overnight sourdough herb pizza crust really does not require that much on hands time. You will want to think ahead, because as the title states, it is an overnight recipe. While this looks like a really detailed recipe, it is not. Make it once and you will realize how simple it really is.
Wednesday Evening: Feed the sourdough starter.
Thursday Evening: Before feeding the sourdough starter for the evening, remove the amount of sourdough you will use for the recipe. Then, mix the dough ingredients and leave on the counter to ferment overnight.
Friday Morning: The dough will have more than doubled in size. Punch dough down, divide into equal amounts, shape and all to rise again at room temperature.
Friday Evening: Time to make and bake pizza!
Kitchen Essentials You May Need
- 12″ Cast Iron Skillet or 14″ Cast Iron Baking Pan
- Mixer
- Large Mixing Bowl
- Parchment Paper
- Digital Scale
- Linen Dish Towel
Ingredients for Overnight Sourdough Herb Pizza Crust
This recipe makes two 10″ – 12″ pizzas. I tripled the recipe for our family of six, and used various sizes of cast iron skillets ranging from 10″ to 14″. With the recipe tripled, I made five pizza crusts.
- 1 cup sourdough starter – I used a hungry sourdough starter, fed the night before.
- 1 1/2 – 2 cups organic white flour
- 1/2 cup water
- 1 tsp salt
- 1 tsp oregano
- 1/2 tsp basil
- 1/2 tsp parsley
- 1/2 tsp thyme
- 1/2 tsp marjoram
- choice of toppings and sauce
How to Make Overnight Sourdough Herb Pizza Crust
Mix the Dough
In a stand mixer, combine the ingredients. Start with the lowest amount of flour that the recipe calls for. So, if you are making the recipe as written start with 1 1/2 cup of flour, then add 1/4 cup of flour at a time until the dough pulls away from the side of the mixer bowl. Once dough pulls away from the bowl, allow the mixer to knead the dough for 15 minutes.
Ferment – First Rise
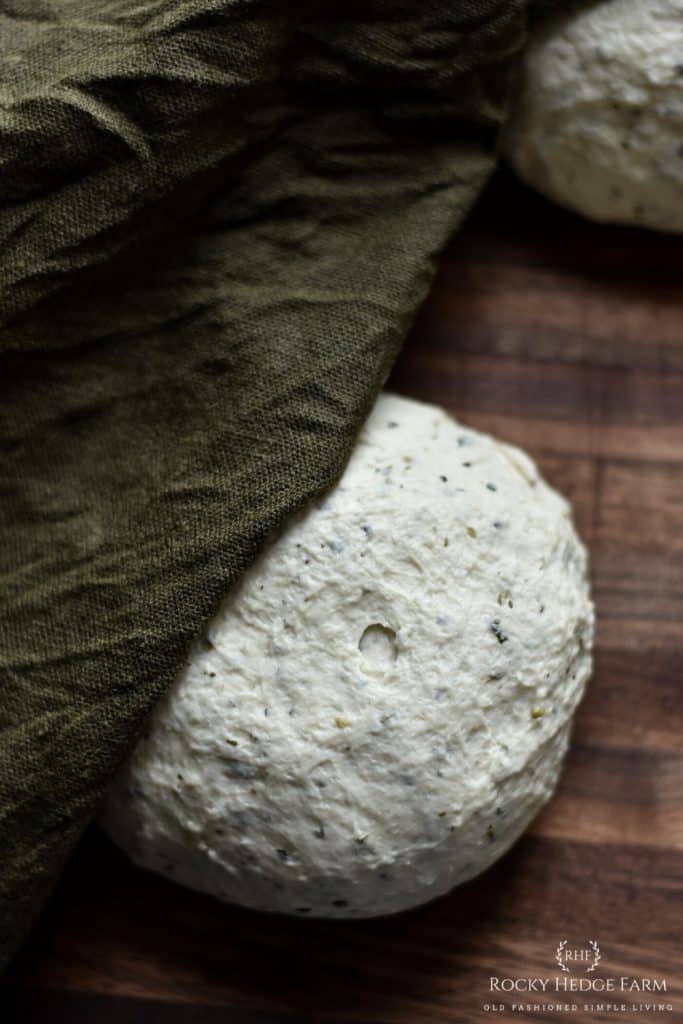
Remove the dough from the stand mixer bowl and place in a large mixing bowl. Cover with a damp linen towel and let the dough rest on the counter to ferment, overnight. A damp linen kitchen towel will help maintain moisture.
Shape the Pizza Dough
My pizza dough ferments overnight and then around 11:00 the next morning, I start the shaping process. Punch the dough down, using a kitchen scale, measure the dough for each pizza. For every inch of the skillet size, use that weight in dough. For instance:
– 10″ skillet use 10 ounces of pizza dough
– 12″ skillet use 12 ounces of pizza dough
Shape the dough into a rough round by pulling dough from top and sides to the middle. Place each round of dough onto a clean surface to rise.
Proof – Second Rise
After shaping the dough, allow it to rise again for several hours until about 1 1/2 times the original size. The warmer the kitchen, the quicker the dough will rise.
Prepare the Toppings
While dough is rising for the second proof, gather your toppings and sauces. In our home we love, homemade red pizza sauce, white pizza sauce, sausage, bacon, chicken, spinach, red onions and mozzarella cheese.
Prepare the Oven
Preheat the oven to 450 degrees. Place your cast iron skillets into the oven to preheat as well. You can also use a pizza stone but again, preheat it in the oven.
Roll the Dough
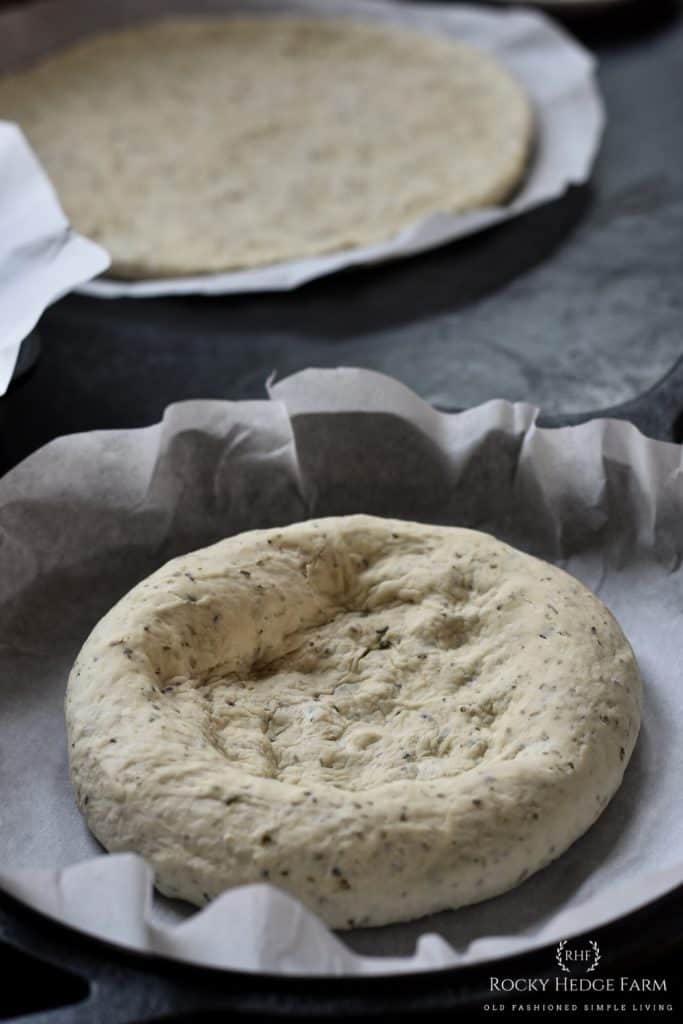
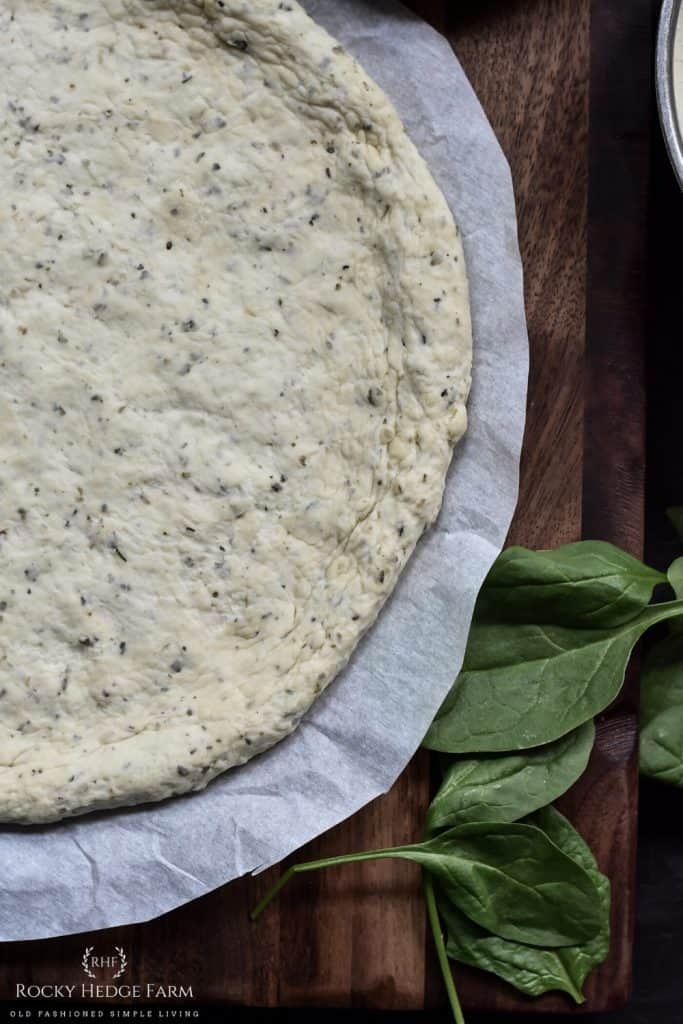
Cut a piece of parchment to a size that is a tad larger than the bottom of the skillet or stone you are using. Then, place one of the pizza dough rounds into the center of the parchment paper. Gently press down into the center of the dough and work the dough out to the edge of the parchment paper. Try to avoid the 1/4″ edge of the dough ball because this is your crust edge.
If the dough feels tight and springs back while trying to press out, let it rest for 5 minutes. Then, attempt to shape again. Do this several times until the dough no longer springs back.
Then, using a fork, lightly poke the top of the pizza dough evenly across the surface. Allow the dough to rest an additional 15 minutes before transferring to preheated cast iron skillet.
Bake the Crust
After the pizza dough has rested the final 15 minutes, remove the cast iron skillet(s) from the oven. Carefully pick up the edges of the parchment paper and leaving the crust on it, slide the pizza crust onto the center of the hot pan.
Bake the crust 5-8 minutes without toppings.
Add Toppings
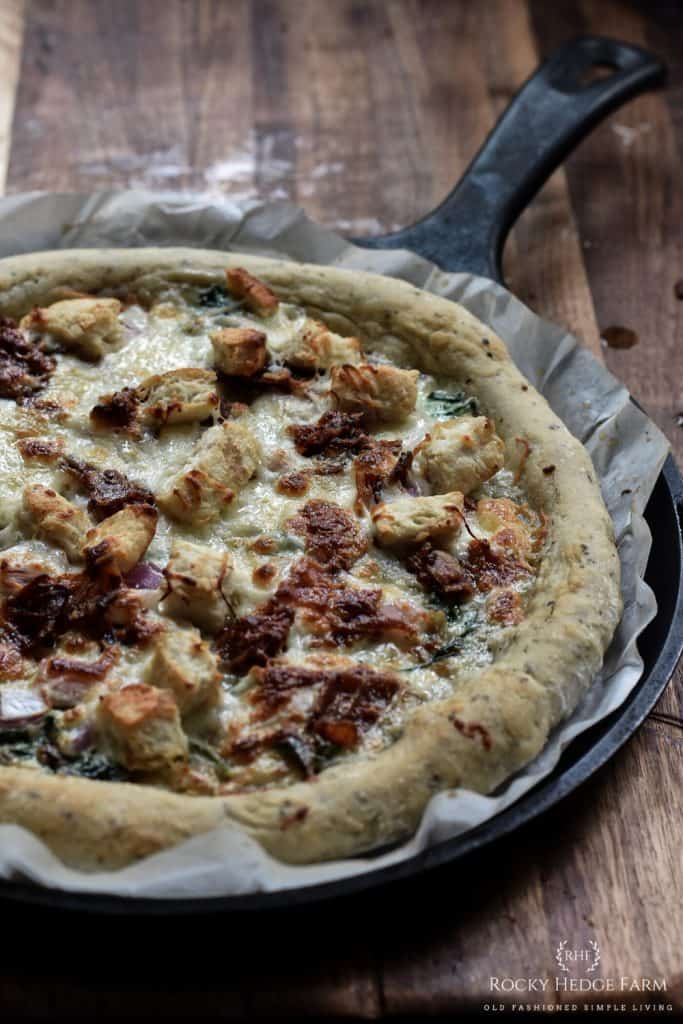
Remove the crust from the oven, and add a layer of sauce. In our home, the children and my husband prefer a homemade traditional pizza sauce. They top the sauce with bacon, sausage and cheese. I, however, prefer all the vegetables, chicken, bacon and red onions topped with cheese over the top of a creamy white pizza sauce.
Then, to get a golden, delicious buttery edge, I coated the pizza crust edge with butter.
Bake Again
Bake your pizza for 10-15 minutes at 450 degrees, until the cheese melts and the crust is a pretty golden brown color.
Allow the pizza to rest and cool for 5 minutes before slicing it and enjoying!

Notes:
- Please use this recipe as a guide. Every sourdough can be different in nature and therefore fermenting and proofing can vary depending on the temperature in your home and starter activity.
- For this recipe, I use white organic flour. I have never made the recipe using a combination of flours or another kind of flour.
- As written, this recipe resulted in a crust that is soft, and chewy with crispy edges.
- Start with the lowest recommended amount of flour. Then, gradually add a small amount at a time until the dough pulls away from the side of the mixer bowl. Every time I make pizza crust, the amount of flour that I use will vary because the flour moisture content from bag to bag can vary.
Overnight Sourdough Herb Crust Pizza

**Advance Prep Required - You will need an active sourdough starter**
Learn how to make this overnight sourdough herb pizza crust recipe. This homemade sourdough pizza crust is baked to perfection in a cast iron skillet. It’s soft, chewy and so good!
Please use this recipe as a guide. The nature of sourdough is different for each one, so time for fermenting and proofing can vary depending on the temperature and starter activity of your sourdough.
Ingredients
- 1 cup sourdough starter – I used a hungry sourdough starter, fed the night before.
- 1 1/2 – 2 cups organic white flour
- 1/2 cup water
- 1 tsp salt
- 1 tsp oregano
- 1/2 tsp basil
- 1/2 tsp parsley
- 1/2 tsp thyme
- 1/2 tsp marjoram
- choice of toppings and sauce
Instructions
Example of Baking Schedule:
Wednesday Evening: Feed the sourdough starter.
Thursday Evening: Before feeding the sourdough starter for the evening, remove the amount of sourdough you will use for the recipe. Then, mix the dough ingredients and leave on the counter to ferment overnight.
Friday Morning: The dough will have more than doubled in size. Punch dough down, divide into equal amounts, shape and all to rise again at room temperature.
Friday Evening: Time to make and bake pizza!
Notes
Mix the Dough
In a stand mixer, combine the ingredients. Start with the lowest amount of flour that the recipe calls for. So, if you are making the recipe as written start with 1 1/2 cup of flour, then add 1/4 cup of flour at a time until the dough pulls away from the side of the mixer bowl. Once dough pulls away from the bowl, allow the mixer to knead the dough for 15 minutes.
Ferment – First Rise
Remove the dough from the stand mixer bowl and place in a large mixing bowl. Cover with a damp linen towel and let the dough rest on the counter to ferment, overnight. A damp linen kitchen towel will help maintain moisture.
Shape the Pizza Dough
My pizza dough ferments overnight and then around 11:00 the next morning, I start the shaping process. Punch the dough down, using a kitchen scale, measure the dough for each pizza. For every inch of the
skillet size, use that weight in dough.
For instance:
– 10″ skillet use 10 ounces of pizza dough
– 12″ skillet use 12 ounces of pizza dough
Shape the dough into a rough round by pulling dough from top and sides to the middle. Place each round of dough onto a clean surface to rise.
Proof – Second Rise
After shaping the dough, allow it to rise again for several hours until about 1 1/2 times the original size. The warmer the kitchen, the quicker the dough will rise.
Prepare the Toppings
While dough is rising for the second proof, gather your toppings and sauces. In our home we love, homemade red pizza sauce, white pizza sauce, sausage, bacon, chicken, spinach, red onions and mozzarella
cheese.
Prepare the Oven
Preheat the oven to 450 degrees. Place your cast iron skillets into the oven to preheat as well. You can also use a pizza stone but again, preheat it in the oven.
Roll the Dough
Cut a piece of parchment to a size that is a tad larger than the bottom of the skillet or stone you are using. Then, place one of the pizza dough rounds into the center of the parchment paper. Gently press down into the center of the dough and work the dough out to the edge of the parchment paper. Try to avoid the 1/4″ edge of the dough ball because this is your crust edge.
If the dough feels tight and springs back while trying to press out, let it rest for 5 minutes. Then, attempt to shape again. Do this several times until the dough no longer springs back.
Then, using a fork, lightly poke the top of the pizza dough evenly across the surface. Allow the dough to rest an additional 15 minutes before transferring to preheated cast iron skillet.
Bake the Crust
After the pizza dough has rested the final 15 minutes, remove the cast iron skillet(s) from the oven. Carefully pick up the edges of the parchment paper and leaving the crust on it, slide the pizza crust onto the center of the hot pan.
Bake the crust 5-8 minutes without toppings.
Add Toppings
Remove the crust from the oven, and add a layer of sauce. In our home, the children and my husband prefer a homemade traditional pizza sauce. They top the sauce with bacon, sausage and cheese. I, however, prefer all the vegetables, chicken, bacon and red onions topped with cheese over the top of a creamy white pizza sauce.
Then, to get a golden, delicious buttery edge, I coated the pizza crust edge with butter.
Bake Again
Bake your pizza for 10-15 minutes at 450 degrees, until the cheese melts and the crust is a pretty golden brown color.
Allow the pizza to rest and cool for 5 minutes before slicing it and enjoying!


Thanks for this recipe! Does the crust end up being thick, thin, or somewhere in between?
It is somewhere in between. You could use a smaller amount of dough to make a thinner pizza, or more dough to make a thicker one. This will just be a personal preference. I hope you try it!
Thank you so much for creating and sharing this tutorial! For those new to sourdough, like me, the timeline is especially helpful. I’ve made this crust again and again and it’s a definite winner!
Thank you so much for the review! I am glad it was helpful to you!
Is the dough supposed to be super sticky? I think I did something wrong maybe I didn’t add enough flour? It did rise though…..
I love that this is a long ferment recipe! I’m wondering if I can add some shredded zuchinni to the recipe. I have to sneak veggies in wherever I can with my 3 year old! I’m thinking I may have to add a little more flour to accommodate for the extra liquid in the zuchinni, or at the very least squeeze as much liquid out as possible before adding to the dough.